When it comes to app design, the right font can make a huge difference in how your app feels. Whether you want to match your brand's identity or just add a personal touch, custom fonts can help you achieve that. React Native makes it easy to use custom fonts in your project, and in this post, I'll show you exactly how to add and use them so you can give your app a unique look.
Download the Fonts
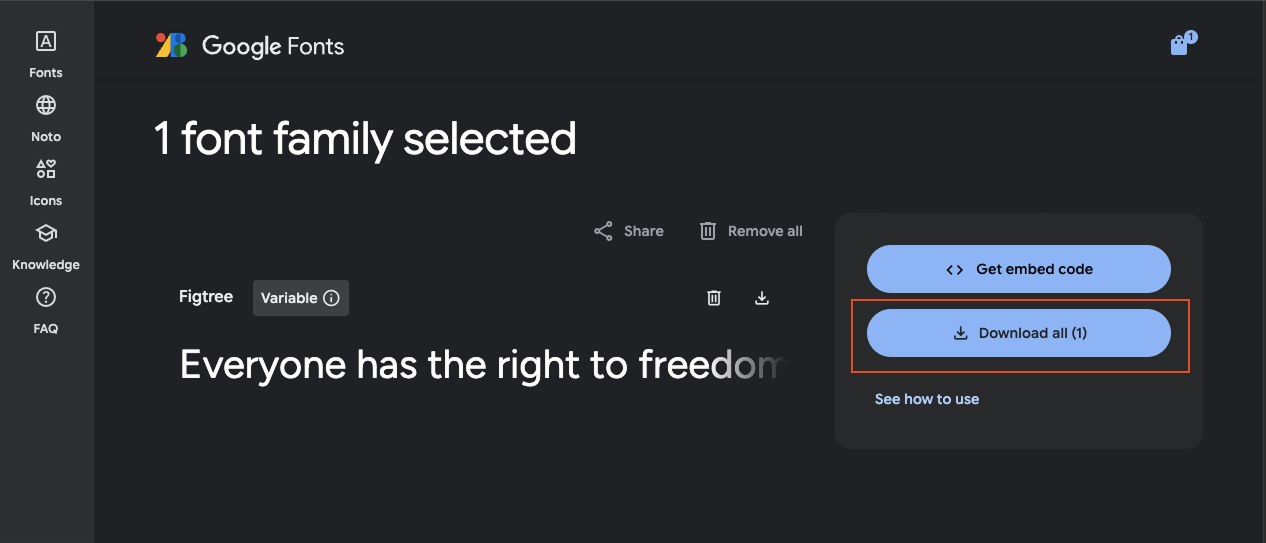
The first thing you'll need to do is download the fonts you want to use. There are plenty of free options available on websites like Google Fonts, DaFont, and FontSquirrel. For this post, we'll be using fonts from Google Fonts. The fonts you select will be in .ttf or .otf format, both of which are supported by React Native. Once you've chosen your fonts, simply click the "Download all" button to grab them.
Add the Fonts to Your Assets Folder
Once you've downloaded the fonts, it's time to add them to your project. Create a folder called assets/fonts in your project directory. Inside this folder, place all the font files you just downloaded.
Your project structure should look something like this:
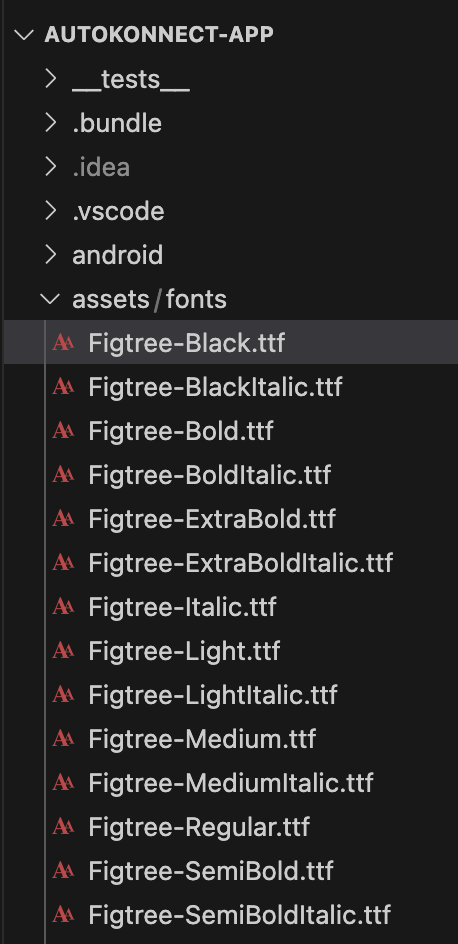
By organising your fonts this way, it makes it easy for React Native to access them when you need to apply them in your app.
Link the Fonts in react-native.config.js
To make sure React Native can find and use your custom fonts, you need to tell it where to look. This is done by editing the react-native.config.js file in the root of your project.
If the file doesn't already exist, you can create it. Add the following code to the file:
module.exports = {
  assets: ['./assets/fonts'],
};
This will tell React Native to look in the assets/fonts folder for any custom fonts you've added then run the following command:
npx react-native-assetUsing Custom Fonts in Your App
To apply the custom fonts to your text elements, you simply need to reference the font family name in your styles.
Find the Font's Name
When you download a font, it often has a specific name that you'll need to use in your code. This might not always be exactly the same as the file name, so you can double-check the font's name in the font file itself. If you're unsure, you can check the font name by opening it on your computer or by using a font viewer tool.
For example, if you downloaded YourFontName-Regular.ttf, the font name might just be YourFontName in our case we downloaded Figtree-Regular.tff
Apply the Font in Styles
Now, use the fontFamily property in your style sheet to apply the font.
Here's an example:
import React from 'react';
import { Text, View, StyleSheet } from 'react-native';
const CustomFontExample = () => {
return (
<View style={styles.container}>
<Text style={styles.text}>Hello World</Text>
</View>
);
};
const styles = StyleSheet.create({
container: {
flex: 1,
justifyContent: 'center',
alignItems: 'center',
},
text: {
fontFamily: 'Figtree-Regular', // Use the font name here
fontSize: 48,
},
});
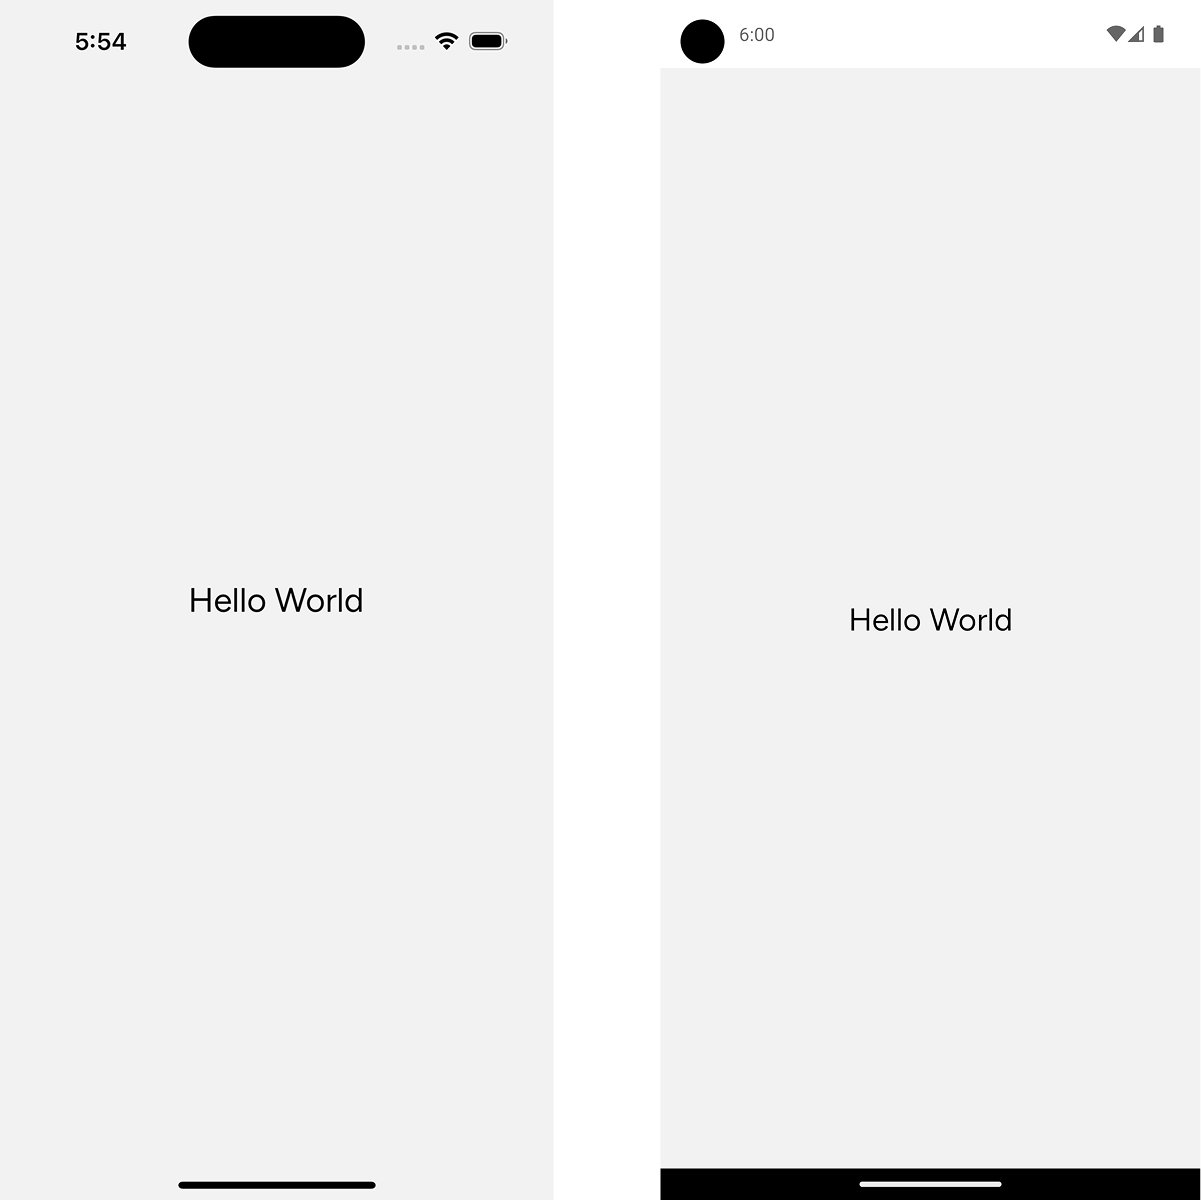
export default CustomFontExample;After applying the custom fonts, make sure to test your app on both iOS and Android to ensure the font is displayed properly. The font names might slightly differ between the platforms, so double-check them if anything looks off.